BMW
BMW 325 e36 Comfort Relay Fix
Our BMW’s windows started to get flaky. They wouldn’t move for a few minutes after the car started, but eventually worked normally, an annoying intermittent problem that wasn’t worth a trip to the repair shop in the hope they wouldn’t work for the mechanic.
I checked the fuse under the hood (#33, 10A) and poked the baby-head-crush safety breaker a few times to no avail.
Then, last night, the windows stopped moving all together. Testing as advised, neither did the sunroof. I found this link and decided it was probably my comfort relay too. This page had a nice list of resources, but the best is gone and only partially available on the internet archive so here’s what I did (and, not to spoil the suspense, this worked).
The panels you need to remove are under the steering wheel. You’re looking at them if you’re lying on your back in the driver’s side foot well, looking up at the bottom of the dashboard. You will need to get through two layers of material to remove the relay, the plastic cover and an aluminum crush panel that protects your knees in a crash. You will need the following tools:
- #2 Philips screwdriver
- Small (1/4″ or so) flat screw driver
- 10mm socket
- Socket extension
- Socket wrench
- Soldering iron
- Solder
First remove the plastic panel
Step 1 – remove the plastic cover that hides an unsightly screw head with the flat screw driver. You just pry it off.

Step 2 – Remove the now-exposed screw, one of three holding the plastic panel in place.

Step 3 – Remove screw two of three.

Step 4 – Remove Screw three of three. The panel should now sort of flop a bit, but it is still retained by a tight fit and two clips between the dash and the driver’s door.

Step 5 – Pull the plastic panel straight aft, releasing the clips shown and remove it. There is a speaker attached to the plastic panel attached by some wires. If the speaker doesn’t pop out of it’s own accord, you can either pull it out or release the wires.

Step 6 – Remove the knee panel with the 10mm socket. The heads are recessed so you will either need a long socket or an extension to reach them. There are three bolts holding the panel in. As it is removed, lower it gently, there is a metal bracket clamped between the panel and the dash structure that will be loose now.

Step 7 – A previous mechanic had solved the assembly problem of the loose mechanical bracket with some electrical tape. This seemed to work well and made reassembly easy.

Step 8 – Remove the blue comfort relay. This is a bit tedious as I did not remove the bracket first – rather wiggled it out of it’s mount. There are two retaining clips that I depressed that may have aided removal (or not). The relay is pulled “up” – away from the ground and up into the tangle of the dash. This is probably the most tedious step, it is all easy from here.

Step 9 – The comfort relay removed. You can replace it or fix it. If you fix it, pry open the case with your flat screw driver by popping the clips on either side and sliding the blue cover off.

Step 10 – Identify the bad joint. Like other people have found, mine was cracked all the way around.

Step 11 – Solder the joint back together. I was generous with the solder so it might last another 200,000 miles.

Step 12 – After putting the relay back, reinstalling the knee panel, and mostly replacing the plastic panel, snap the speaker back into the back-side (inside) of the plastic panel then replace the screws and cover the unsightly head of the visible one with the plastic bit.

Windows go up. Windows go down.
Mercedes E350 Hertz Rental
Hertz gave me a lovely Mercedes E350 as a free upgrade in LA this trip: definitely the best upgrade so far.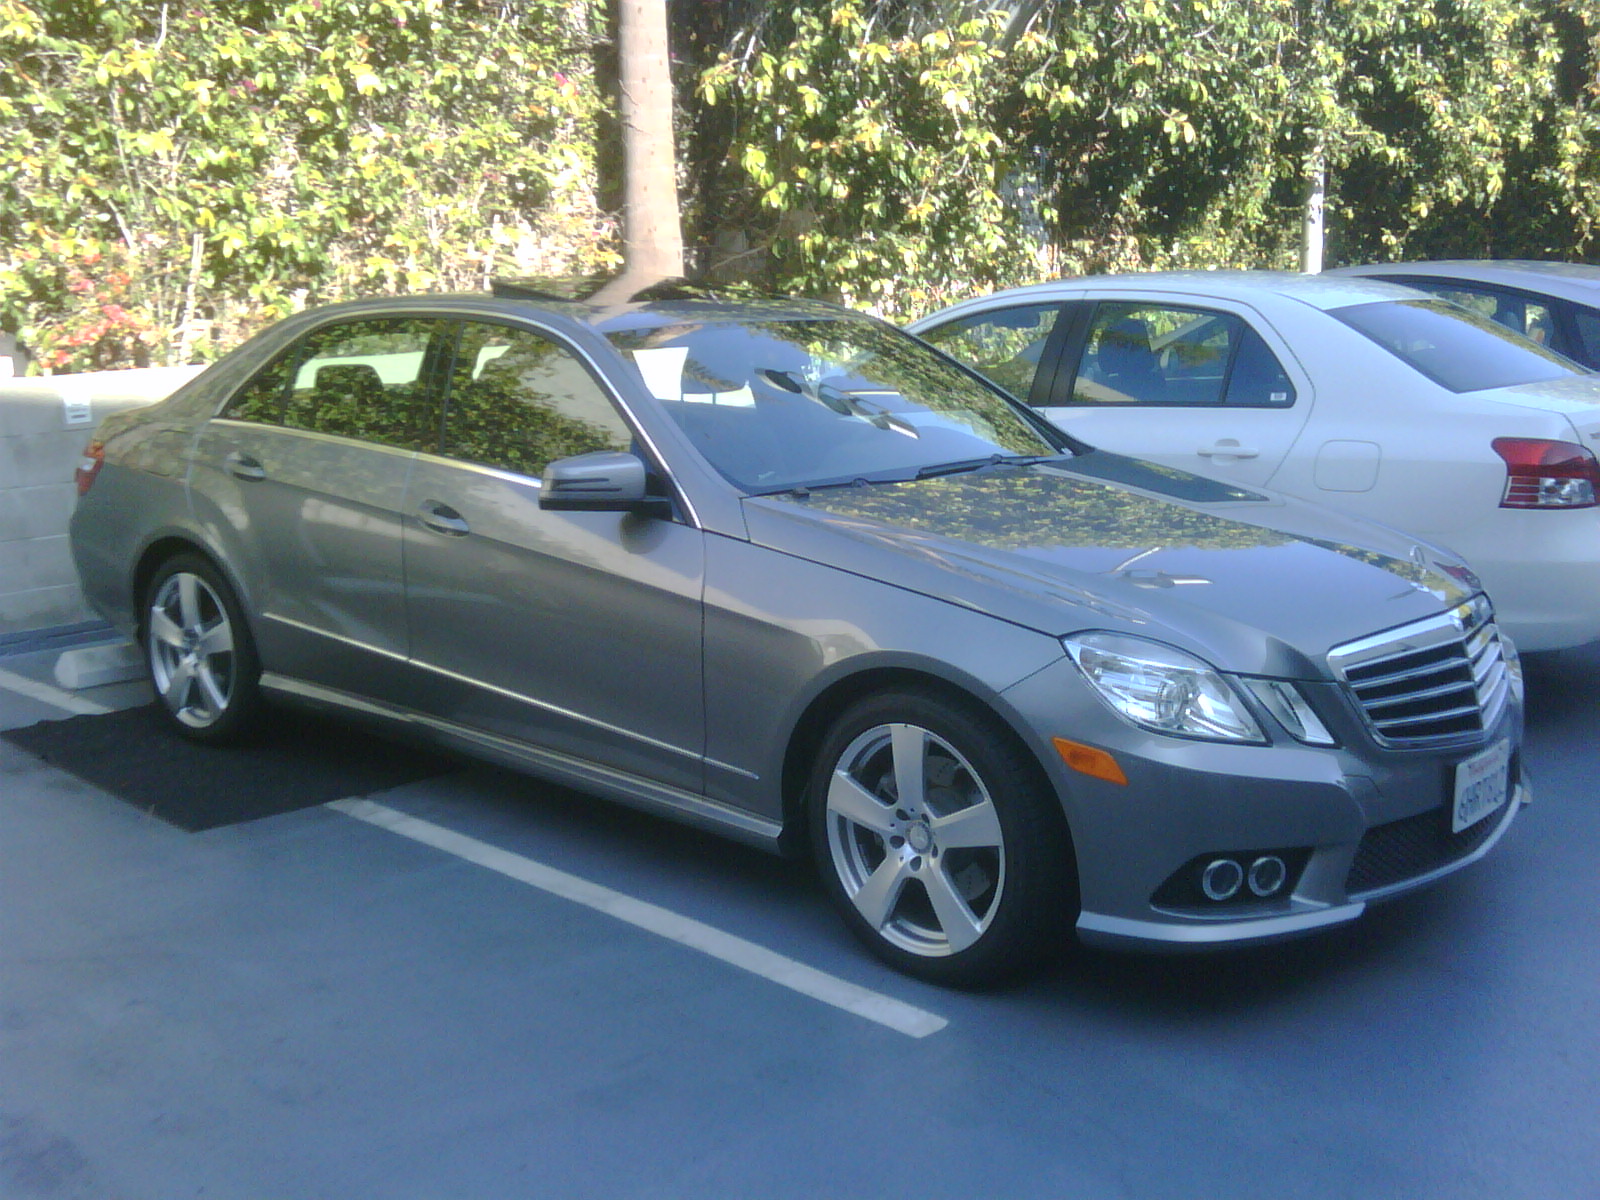
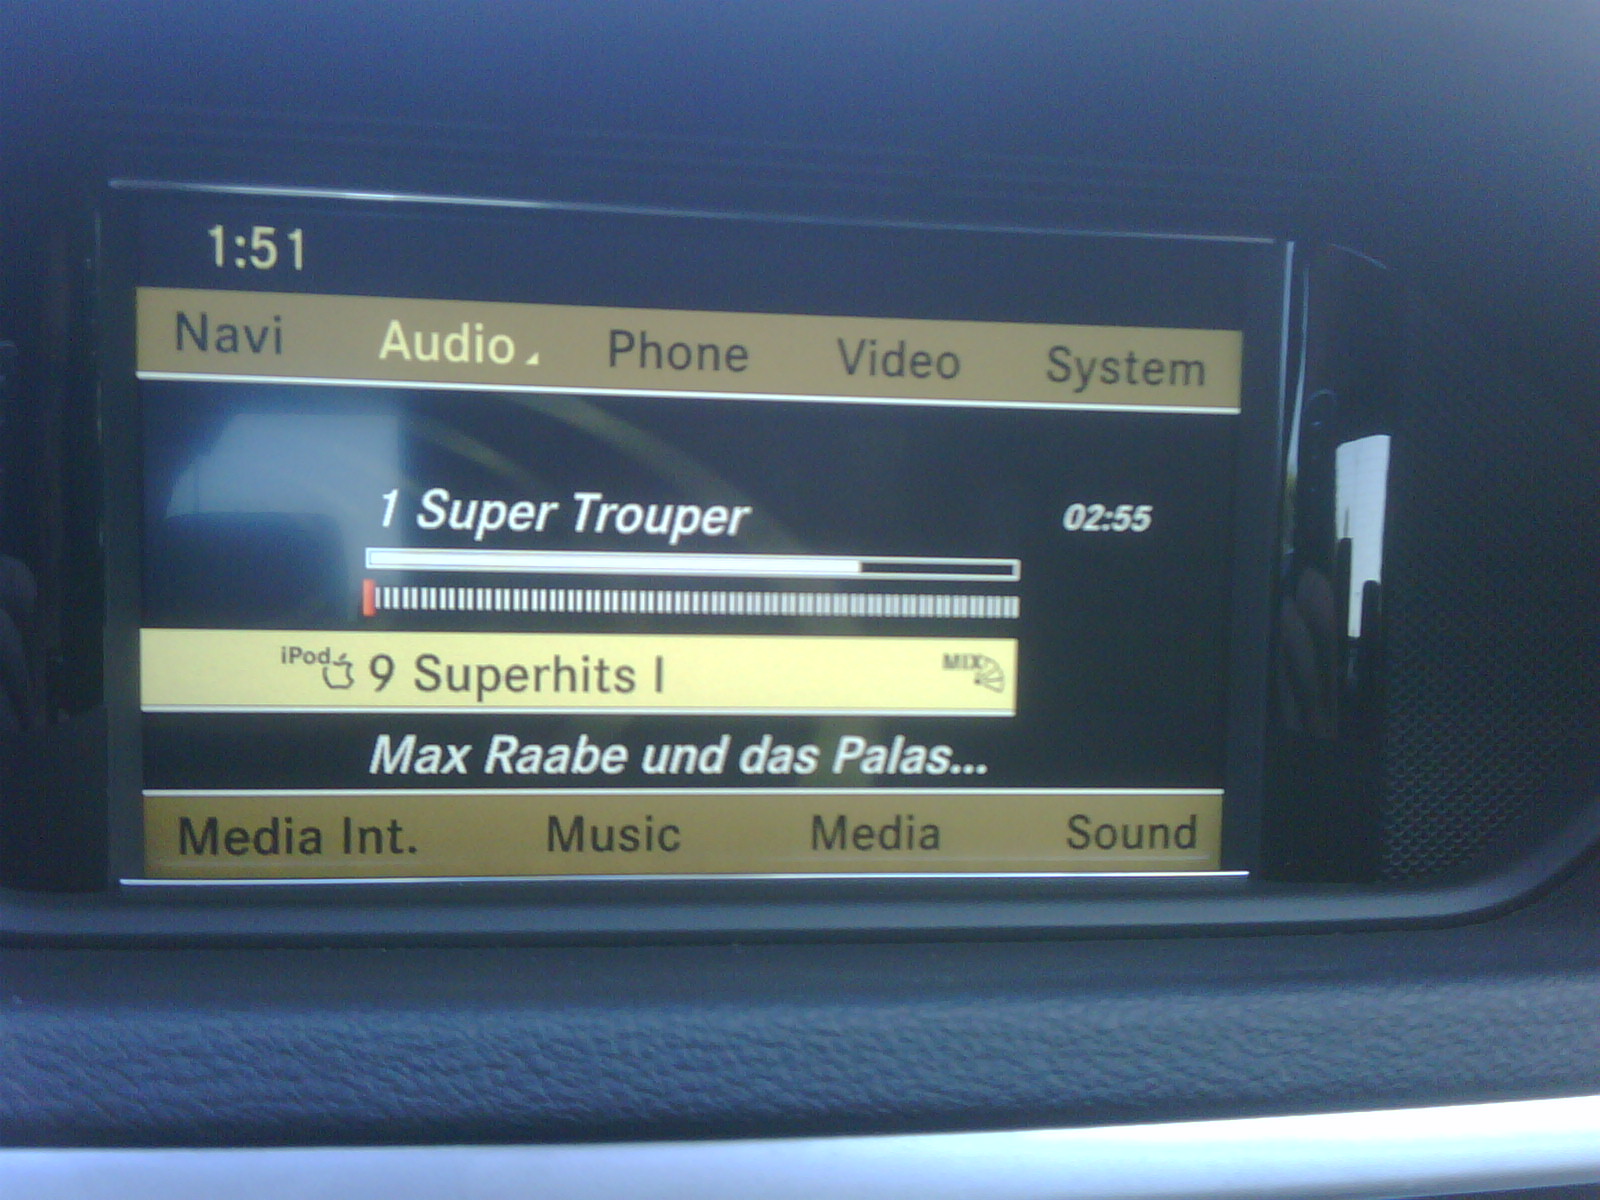
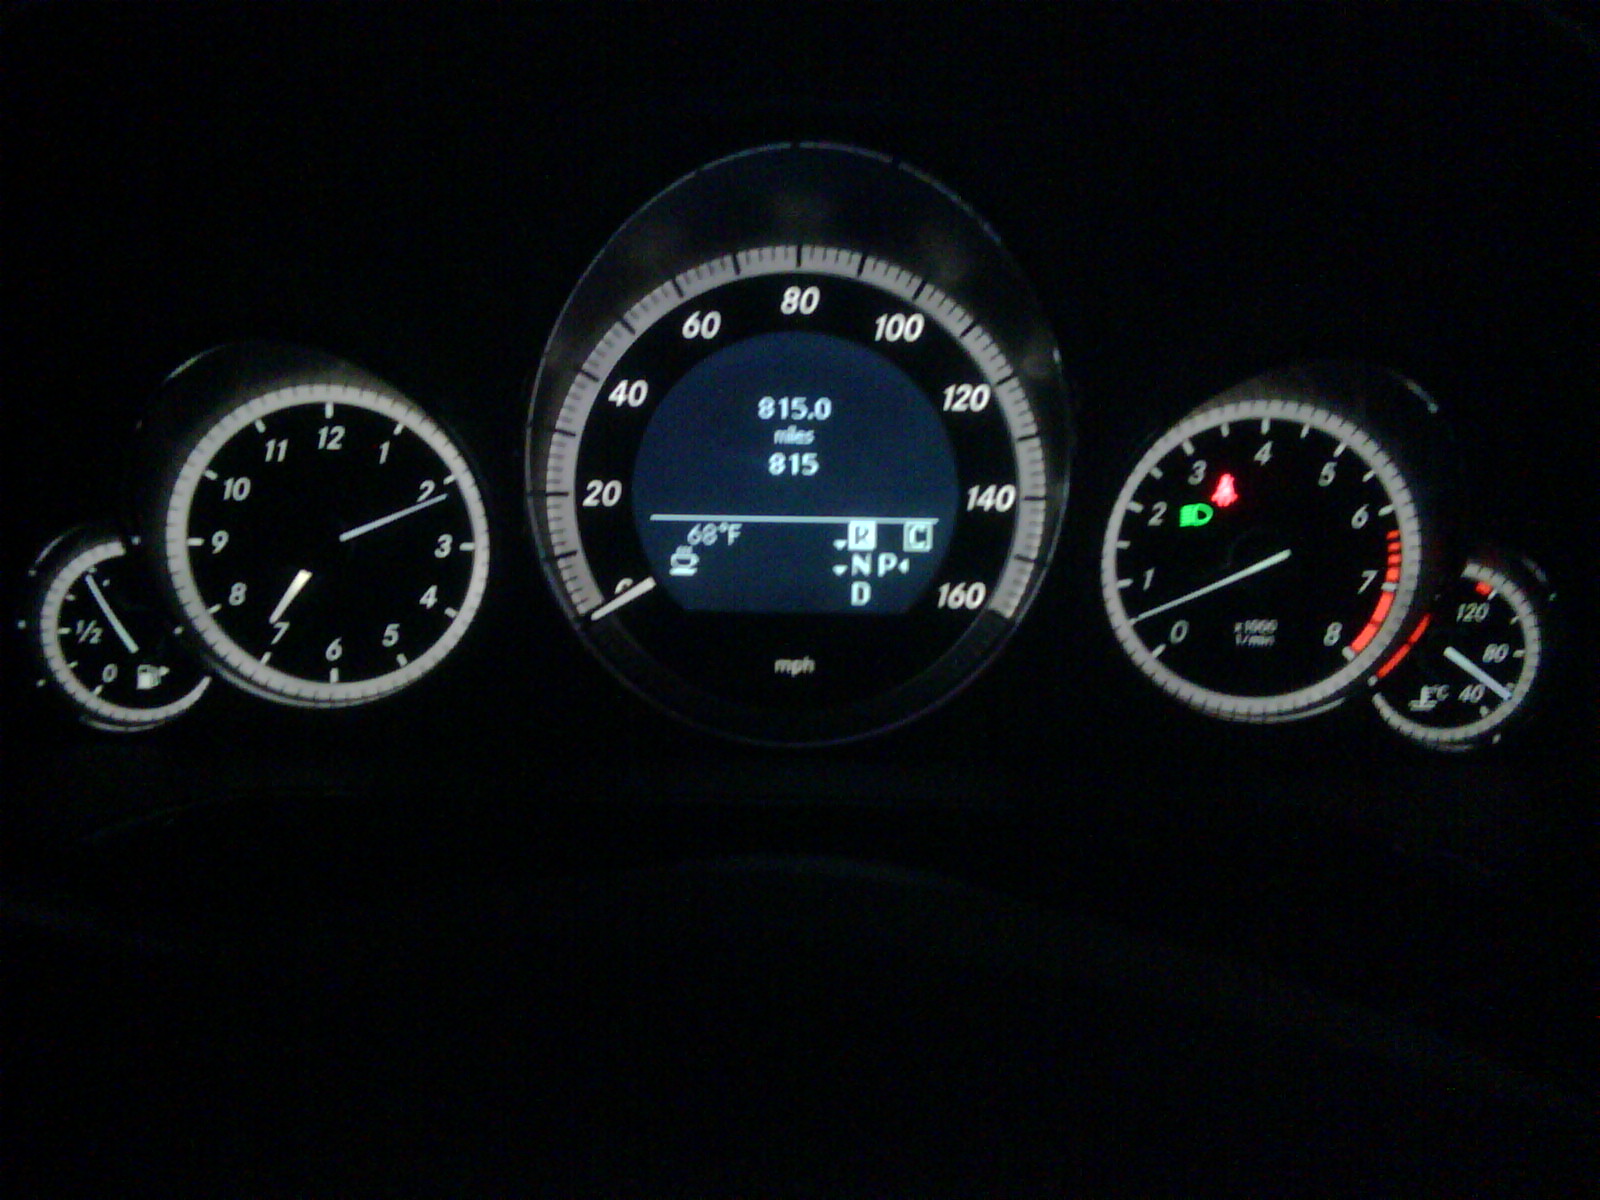
It is quite a nice car, with plenty of trunk space, and extremely quiet interior, a powerful engine, and excellent handling. The interior is clean and well designed with a nice dash that’s easy to read. In fact the entire system was fairly intuitive. I had my phone paired with the in-car audio system, the voice recognition system figured out, the nav system programmed, climate set, and my favorite Sirius classical station on the radio in the 20 minute drive from LAX to Santa Monica. It was probably the first time I’ve made that trip and arrived a little disappointed it was so brief.
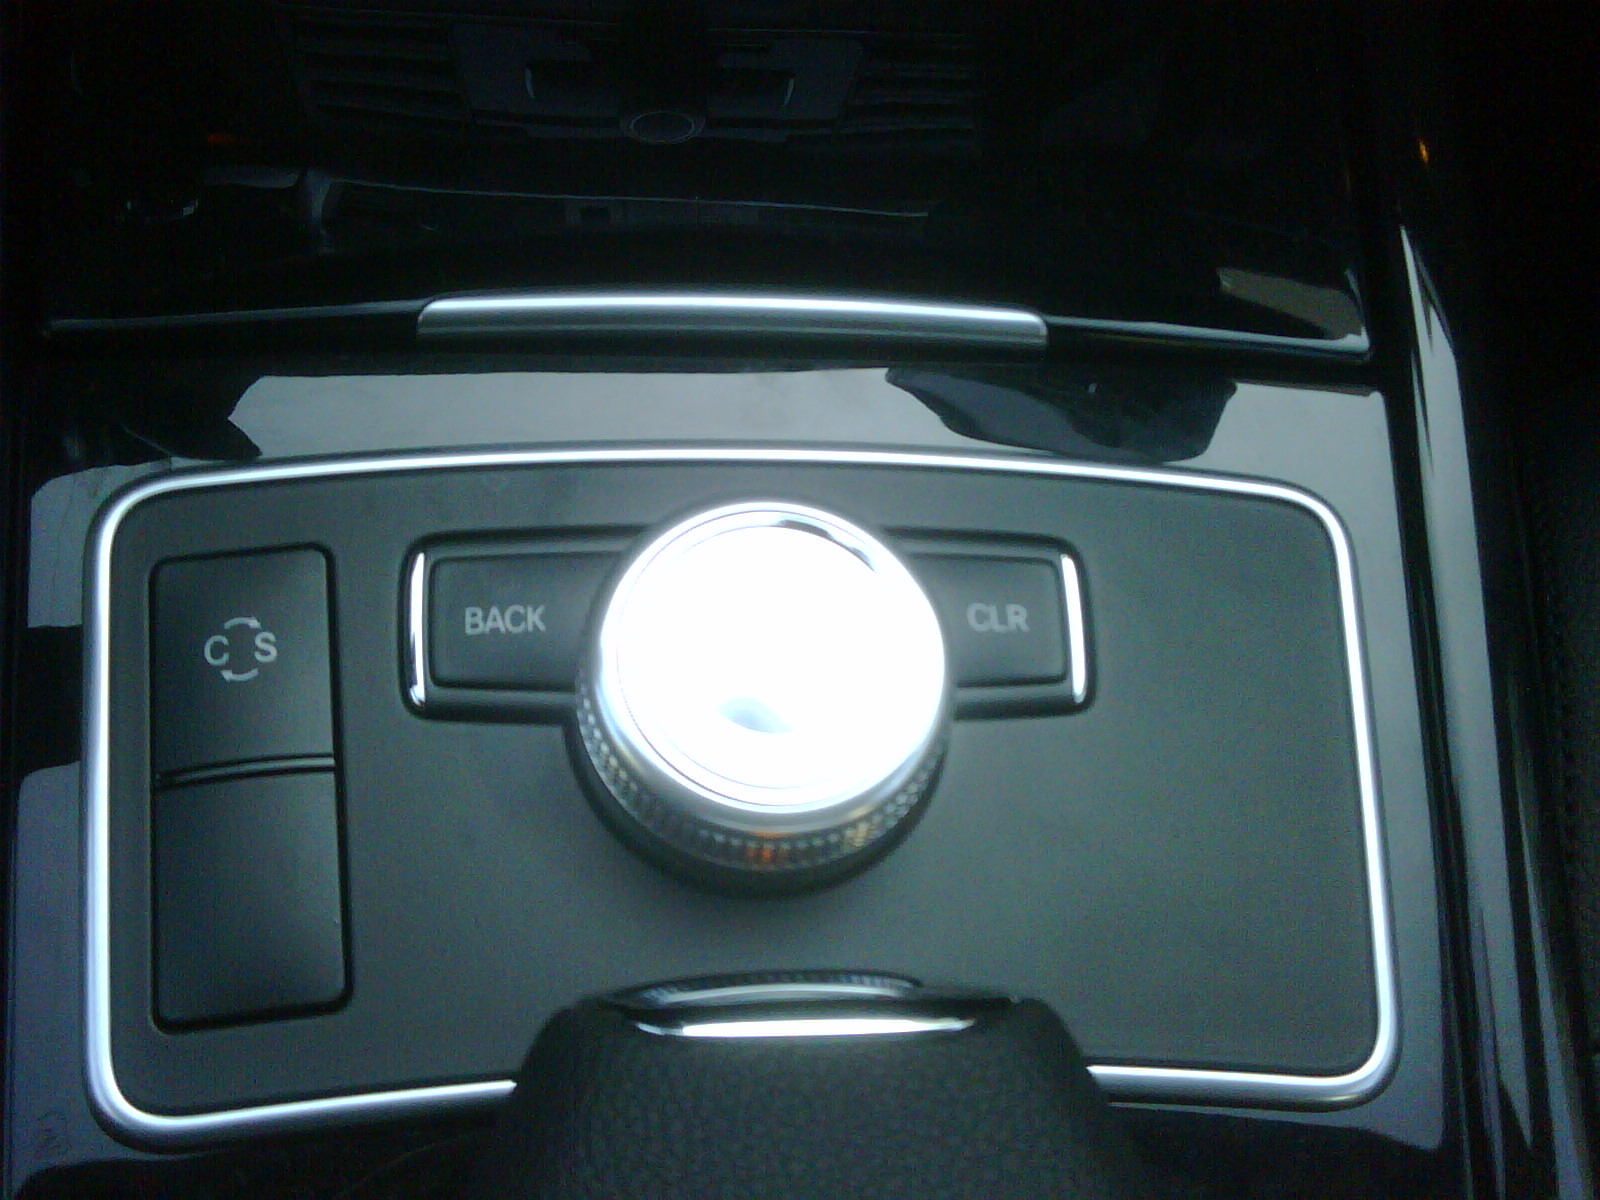
Most of the interaction with the Car’s computer is through voice prompts and the system is very effective: it never made a mistake in my use. One can also navigate the cars computer options with a fairly nice click wheel, which is reminiscent of the BMW system, but without the force feedback (alas).
The Nav system in the car is excellent. It works far better than the Hertz NeverLost system (which was, inexplicably, also installed). The Mercedes version is a lot easier to read and understand and is integrated with the audio system in the car (though the announcements were painfully loud and the one thing I didn’t figure out was how to turn them down).
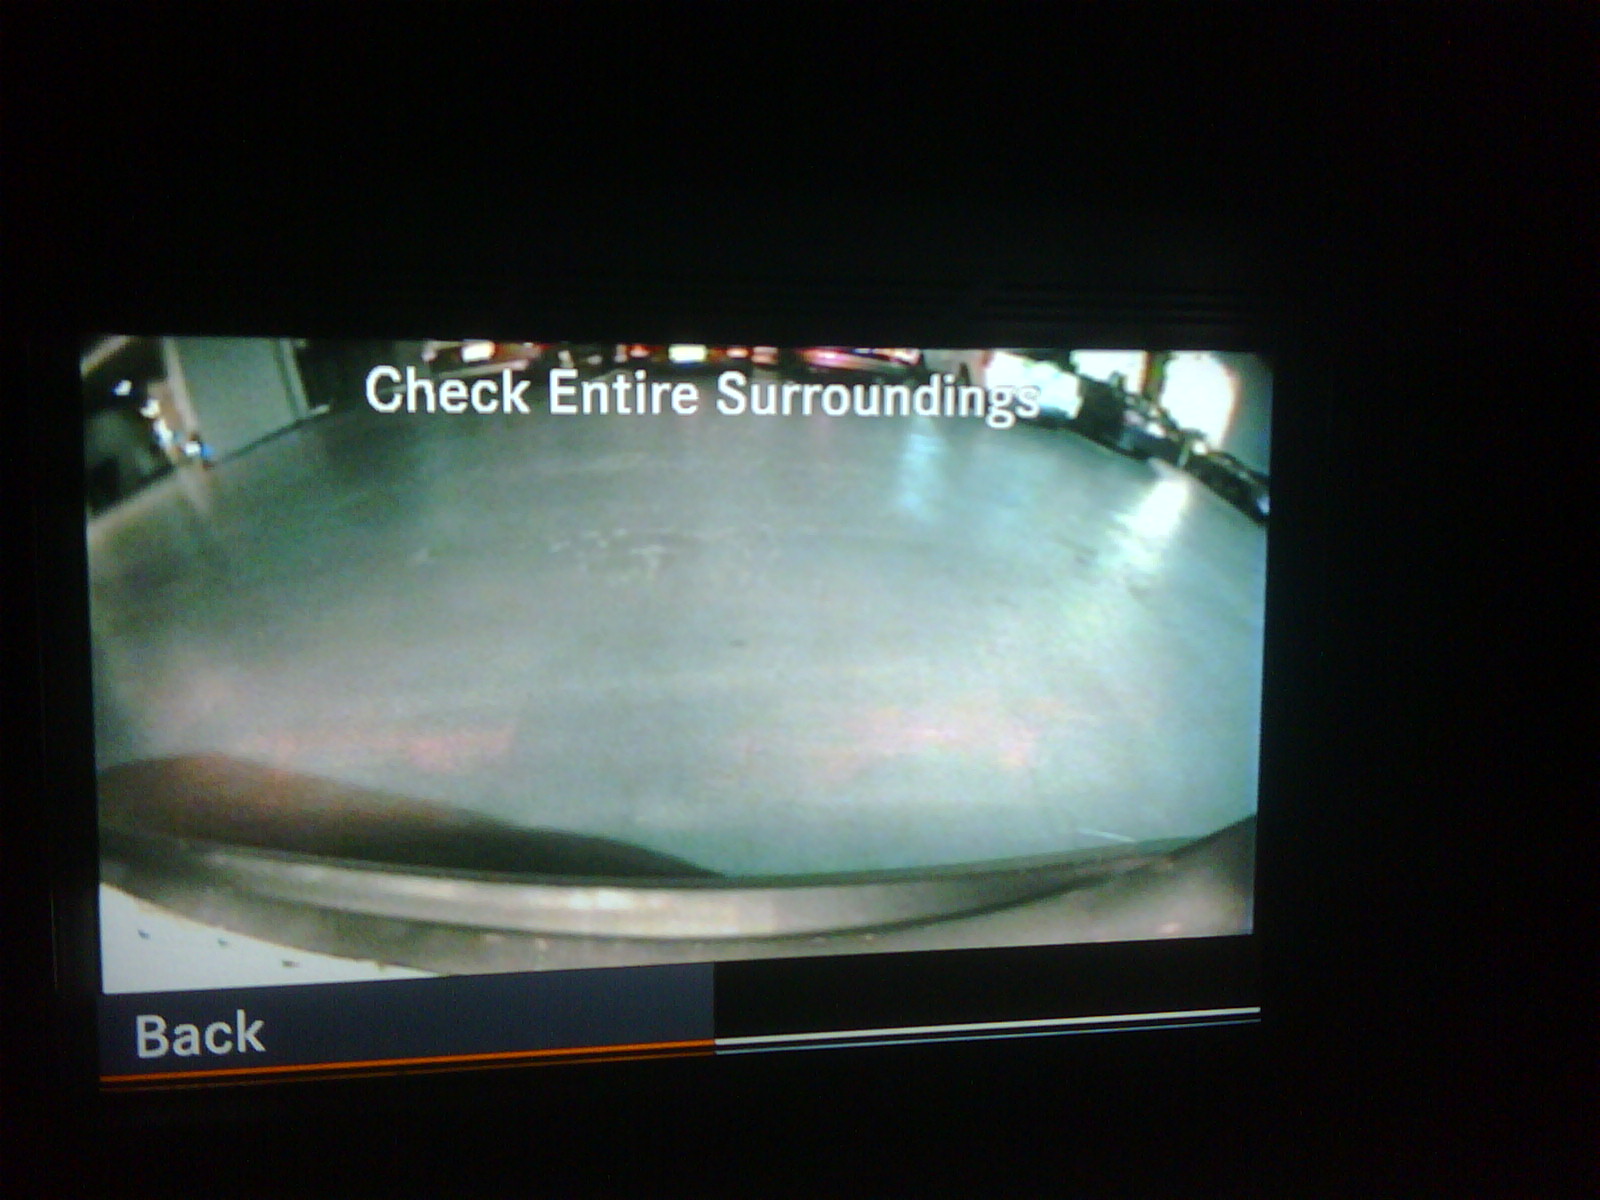
The computer’s visual interface also serves as the backup camera. It seems a bit superfluous on a normal sized car, but it has a good down-view, so one can see if one is about to backup over a child’s favorite toy or limb, which I suppose has merit for people who haven’t realized that most children are the free byproduct of an otherwise pleasurable activity.
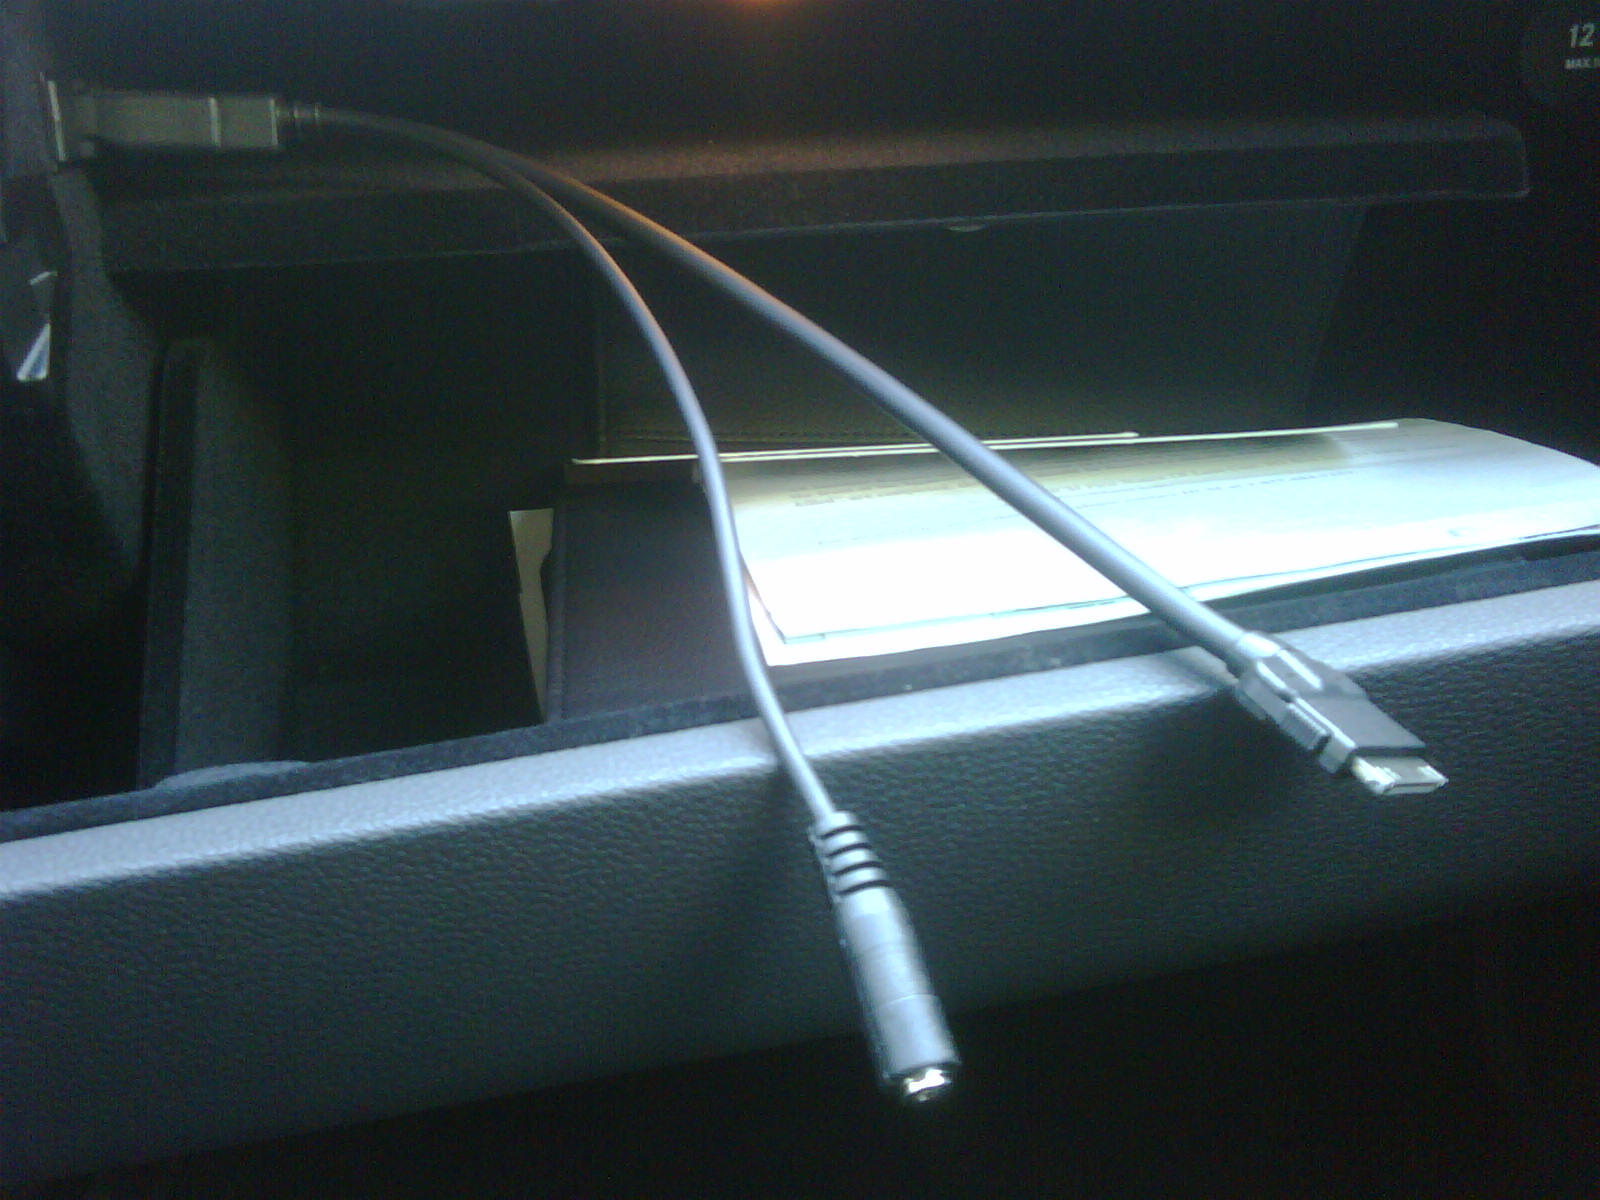
I was very impressed with the iPod integration. The in-glove-box cabling includes an analog headset port (female, for reasons I do not comprehend – it should be male) and an iPod connector.
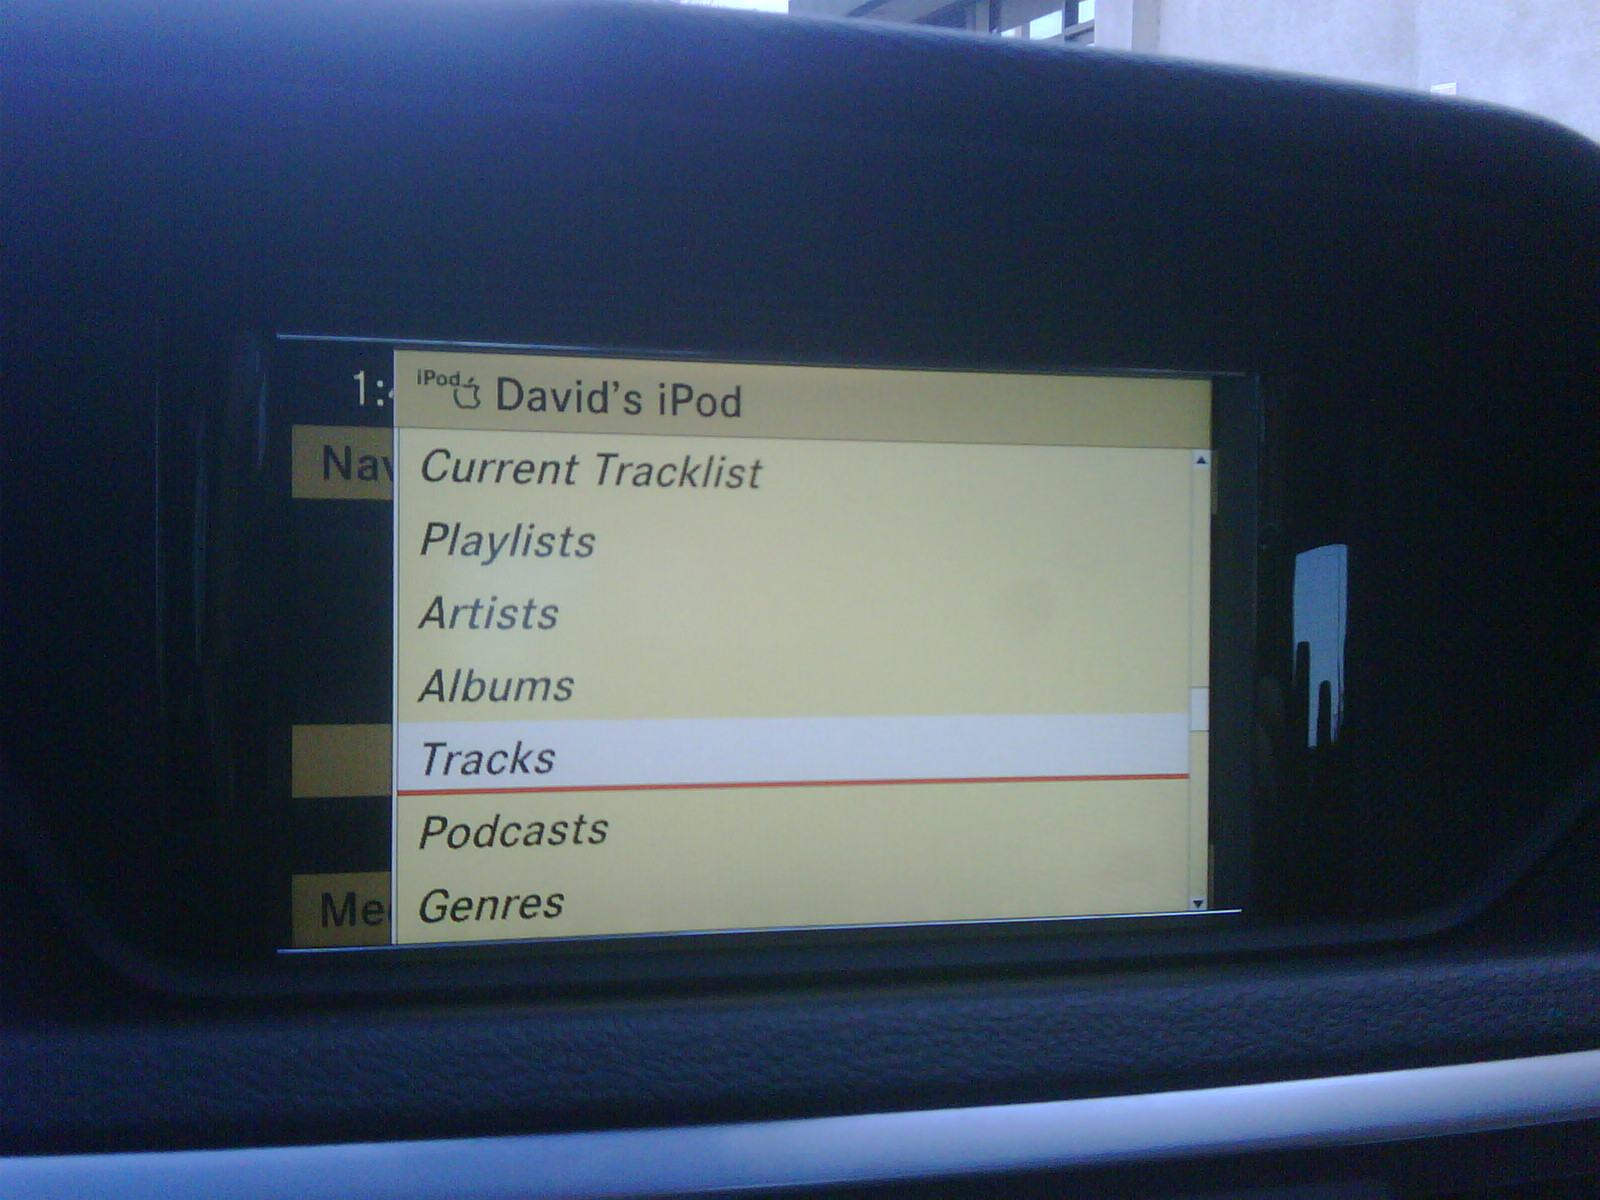
The on-screen interface is a nice integration with basic iPod functionality and the click wheel emulates the iPod’s navigation mode in a very intuitive way, unlike the Audi interface.
Mercedes even manages to push their own logo to the iPod, which is pretty impressive.

All in all, an excellent rental I’d be glad to get again.